How to Rollerblade: Step-by-Step Guide for Adult Beginners
Learning how to rollerblade as an adult is easier than most people expect, and harder in exactly one way: nobody tells you what to practise first. Kids flail around until it clicks. Adults want a plan. This is that plan, written by the people who fit inline skates in our Toronto showroom and then watch customers take their first strides on the path outside.
The short version: get skates that fit snugly, put on a certified helmet and wrist guards, and spend your first session on flat, smooth, empty pavement doing four things in order: stand, march, stride, stop. Stopping comes before speed, always. Most adults are gliding by the end of session one and skating confidently within three or four.
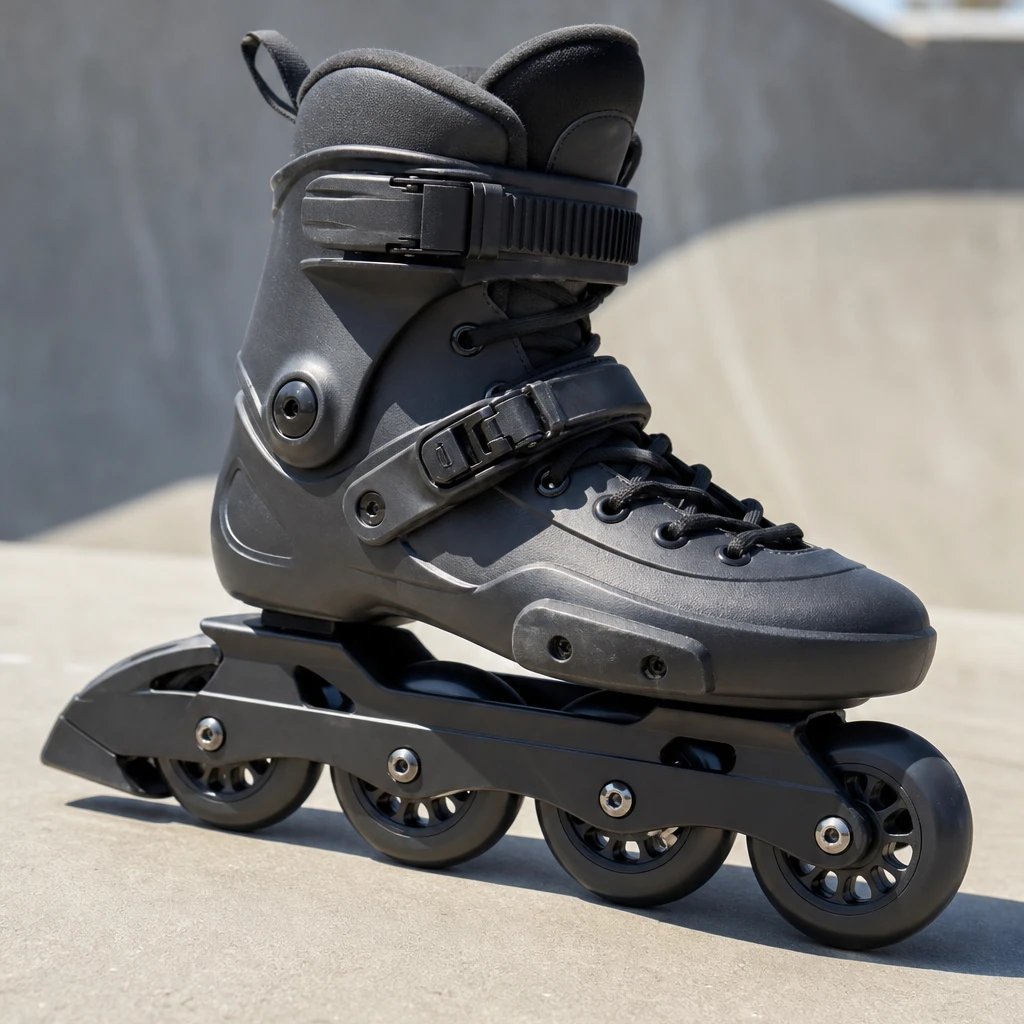
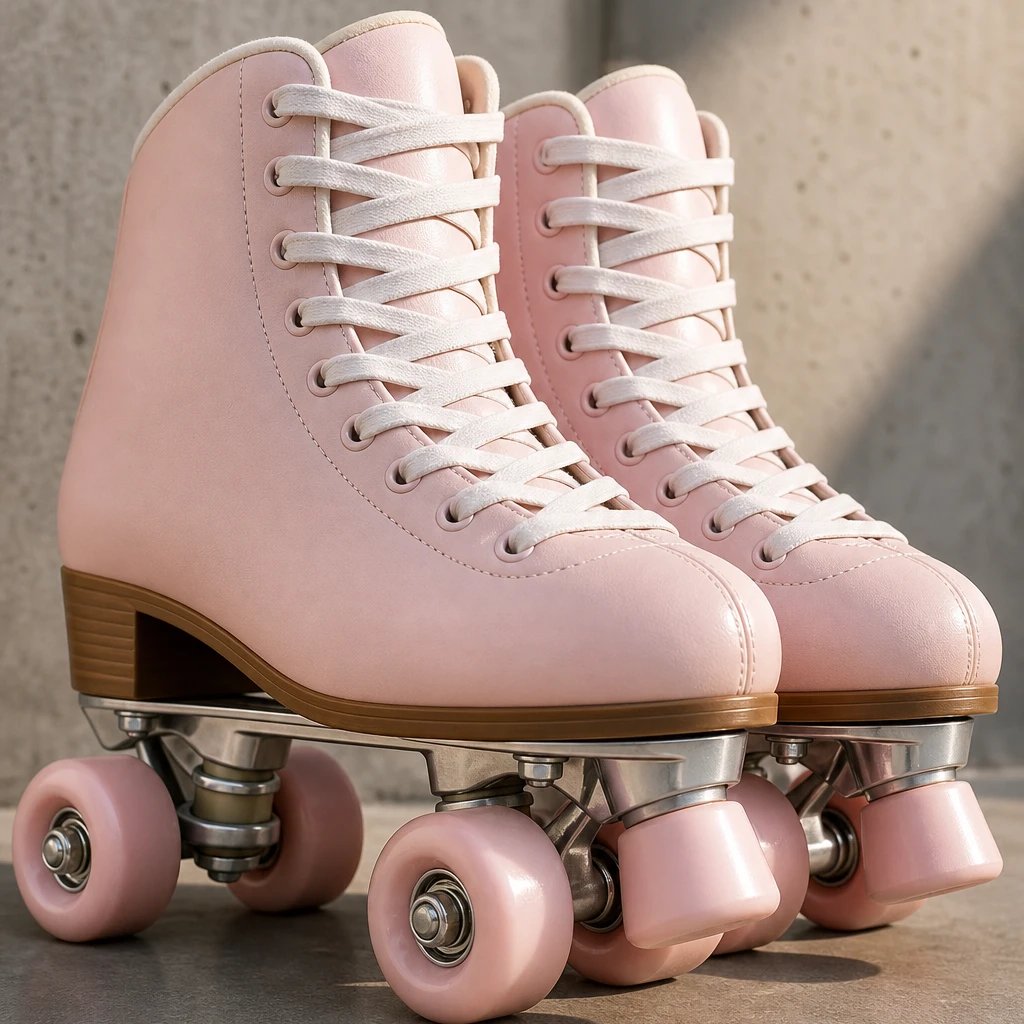
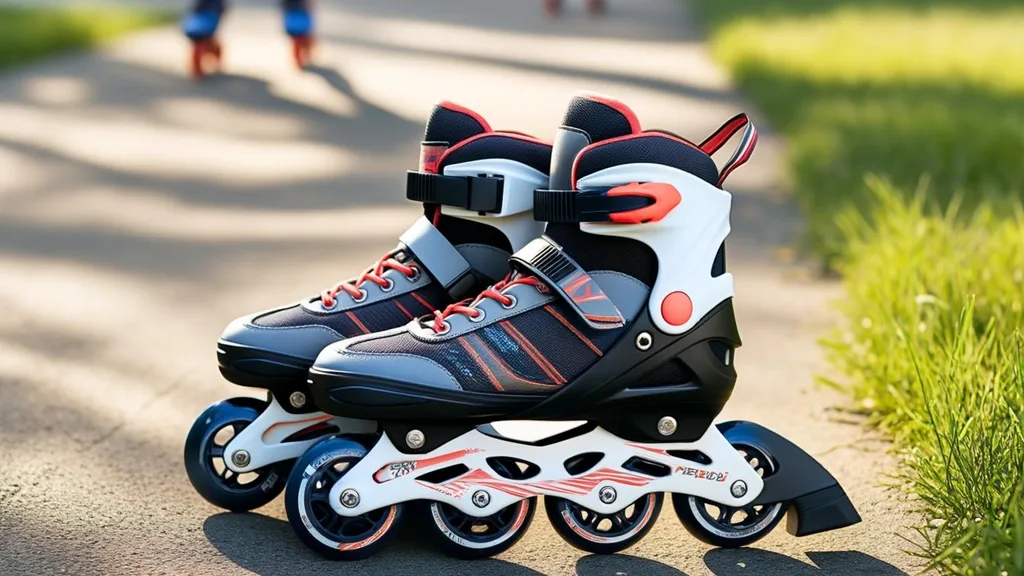
Skates that fit make learning twice as fast. A boot with heel lift or a floppy ankle fights every skill on this page. Measure your feet with our skate size calculator before you buy, and start with a supportive recreational model from our inline skates range. If you're still choosing between inline and quad skates, read inline skates vs roller skates first.
This guide is about technique. For skate types, wheels, bearings and where to buy, our inline skating guide covers the gear side in full.
Before You Rollerblade: A Three-Minute Setup Check
Ten seconds of setup prevents most first-day frustration. Do this every time until it becomes automatic.
Close the skate from the top down
Tighten the laces or buckles at the ankle first, then the middle strap, then the toes. The ankle should feel held, not strangled. Stand up and try to lift your heel inside the boot. If it moves more than a few millimetres, tighten the ankle again. Toes need room to wiggle. A snug ankle with free toes is the fit that lets you steer with your shins instead of your toes.
Check the heel brake and spin the wheels
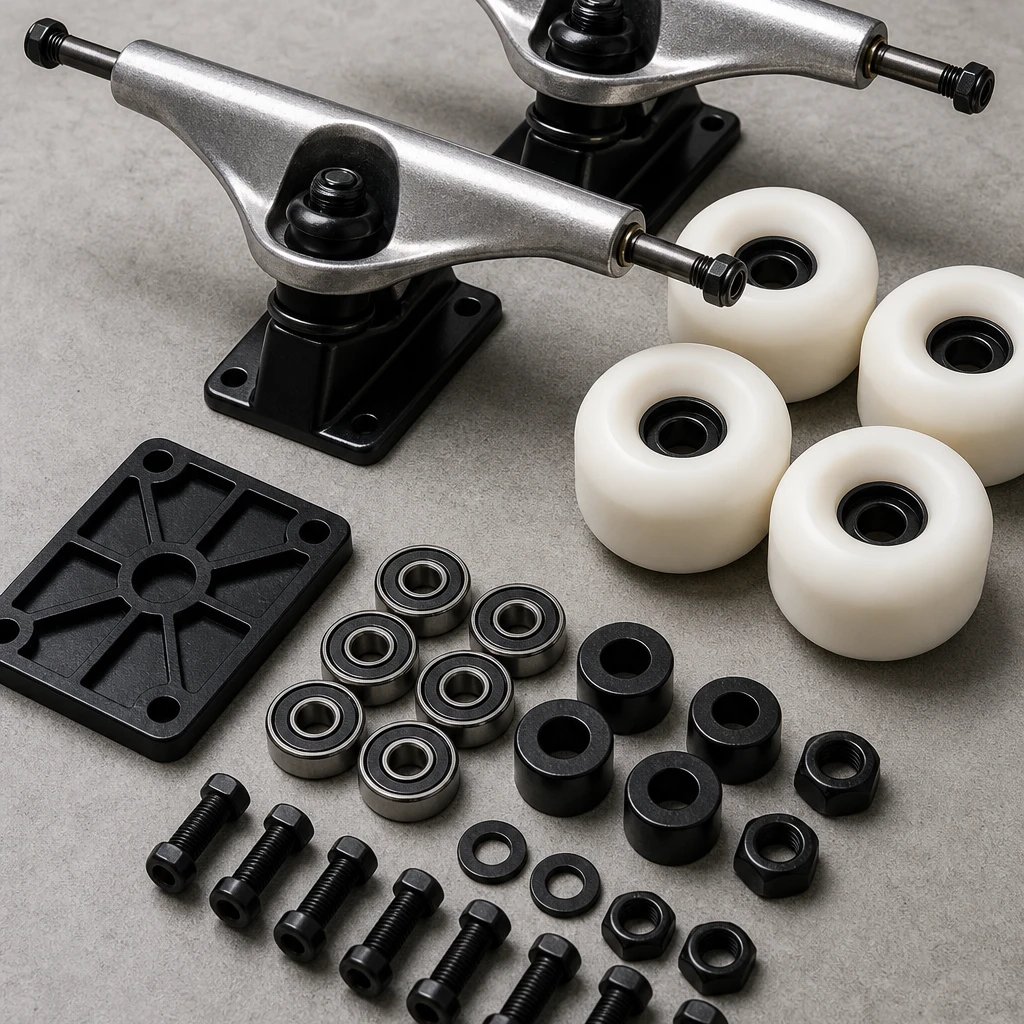
Almost every recreational inline skate ships with a rubber heel brake on the right skate. Make sure it's attached and that the pad isn't worn down to the plastic. Then hold the skate up and flick each wheel. They should spin freely and quietly. A wheel that stops after half a turn has a seized bearing, and that skate will pull you sideways. Replacement heel brakes and inline skate bearings are cheap; a session spent fighting bad ones is not.
Find genuinely smooth, flat, empty ground
Cracked sidewalks and gravel end more beginner sessions than falls do. Look for an empty parking lot, a tennis court where skating is allowed, a quiet paved path or an indoor rink. Flat matters more than you'd think: a slope that feels gentle on foot is a runaway ramp on wheels until you can stop.
Wear the protection that actually prevents injuries
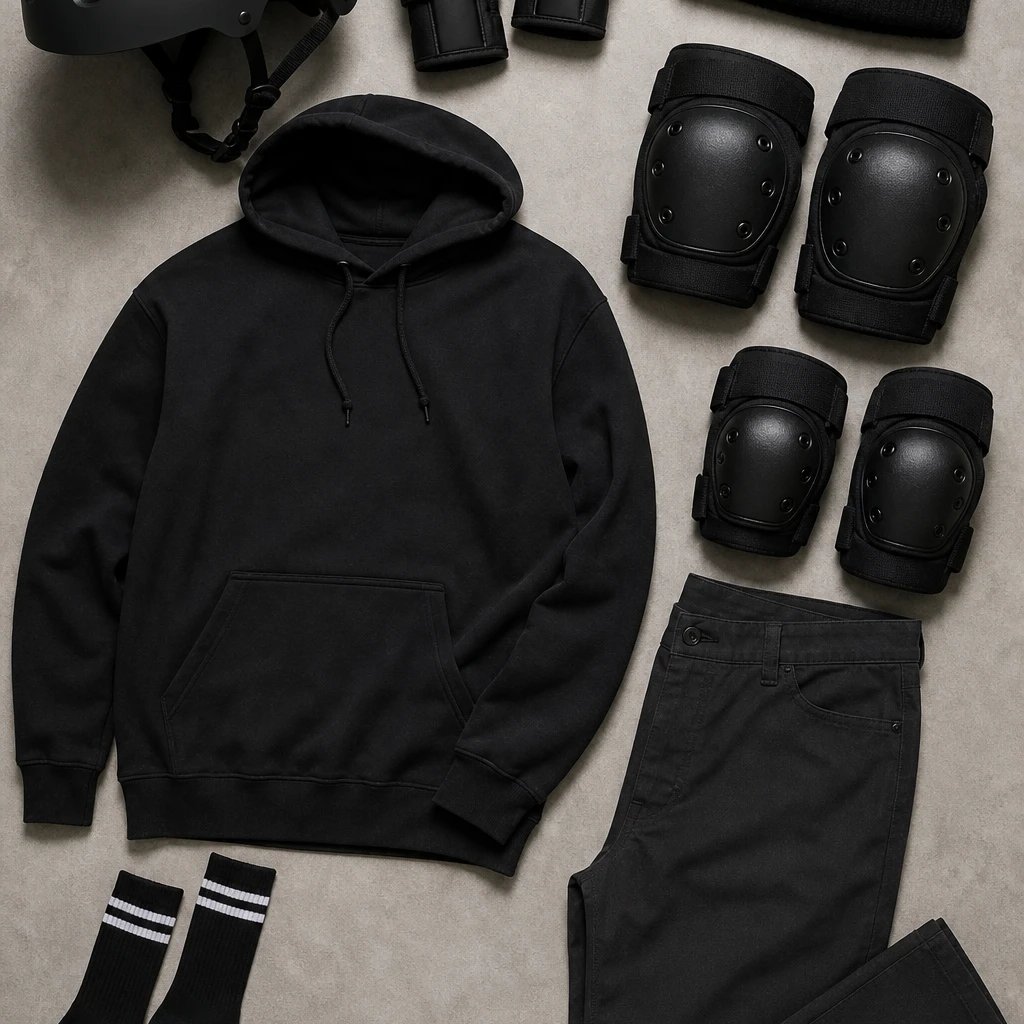
Canada's injury-prevention charity, Parachute, reports that broken bones are the most common in-line skating injury, and that skaters without wrist guards face roughly ten times the risk of a wrist injury. Their in-line skating safety page is worth two minutes of your time. The kit that matters:
- A certified helmet. Parachute explains which standards to look for on its helmet guide for skating and cycling.
- Wrist guards. Non-negotiable for adults; we catch ourselves with our hands by reflex.
- Knee and elbow pads. Knees take the controlled falls you'll practise in Step 7.
Step 1: Stand Up Without Rolling Away
Put your skates on while sitting on grass, carpet or a curb, not on the pavement. Wheels don't roll on grass, which makes it the perfect place to stand, wobble and get a feel for the ankle support.
To stand up from the ground: kneel on both knees, bring one skate up flat in front of you, put both hands on that knee, and push down through the front foot as you rise. Bring the other skate up beside it. Do this three or four times on grass before you step onto pavement. You'll use the same movement every time you fall, so it pays to learn it while nothing is rolling.
When you step onto the hard surface, keep one hand on a rail, fence or a patient friend for the first minute. Let the skates roll a few centimetres and feel how the wheels respond to tiny shifts in weight.
Step 2: The Ready Position
Every rollerblading skill is built on one posture. Get this right and the rest follows; get it wrong and you'll fall backwards for a month.
- Knees bent so your shins press gently into the front of the boot.
- Hips over your feet, not behind them. Adults almost always lean back when nervous, which is exactly what makes you fall back.
- Chest up, eyes forward. Look where you're going, not at your skates.
- Hands in front at waist height, as if you're resting them on a table.
Skating instructors use the cue "nose over knees over toes." If you can see your toes without bending your neck, you're leaning back. Bend your knees more; that alone fixes most beginner balance problems.
Step 3: March, Then Scissor Your Feet
Before you push, walk. On the pavement, with your knees bent, lift one skate a few centimetres and set it down, then the other, like a slow march on the spot. Then march forward. The skates will start to roll a little on their own, and that's the moment learning begins.
Next, learn the scissor stance: one skate a half-boot ahead of the other, both pointing forward, weight even. Inline skates are far more stable with staggered feet than with your feet side by side, because the longer base stops you tipping forward or back. Practise rolling in a scissor stance and switching which foot leads. This stance is also the foundation for the heel brake in Step 6.
Step 4: How to Rollerblade Forward: The V-Push
Now the actual stride. Start with your heels together and toes pointed slightly outward, making a "V". Bend your knees. Push one skate out to the side, not backward, so the inside edge of the wheels grips the ground, and let the other skate roll forward. Bring the pushing skate back under you and repeat on the other side.
Three things make this work:
- Push sideways. Pushing straight back does nothing on wheels; the power comes from the inside edge angled against the pavement.
- Keep the pushes short. Big, dramatic strides look impressive and put your weight in the wrong place. Short pushes and longer glides are faster and safer.
- Recover under your body. After each push, the skate comes back beneath your hip before the next push starts.
Step 5: Glide, Balance on One Foot, and Turn
One-foot glides
Rolling on one skate is what separates beginners from skaters. Once you're moving, lift one skate a couple of centimetres and count to two before setting it down. Alternate feet. Work up to a count of five. Keep the knee of the gliding leg bent; a straight leg locks your balance.
The A-frame turn
Your first turn is the easiest: roll with your feet wide apart in an "A" shape and press more weight onto the inside edge of the outer skate. To turn left, press the right skate. The turn is wide and slow, which is exactly what you want at this stage.
The parallel turn
Later, with your feet in the scissor stance, lean your knees and shins into the turn together. Both skates carve on the same edge. This is the turn you'll use for the rest of your skating life, but it needs the scissor stance and one-foot balance from above, so don't rush it.
Step 6: How to Stop on Rollerblades
Learn this before you learn to go fast. Adults who skip stopping are the ones who end up choosing between a hedge and a parked car.
The heel brake: learn this first
- Roll in a scissor stance with the braking skate (usually the right) in front.
- Bend your knees and sit slightly back, as if lowering into a chair.
- Slide the front skate further ahead and lift its toe so the brake pad touches the ground.
- Press down gradually. Pressure controls the stop; stamp on it and the skate skids.
- Keep your hands forward and your weight centred as you slow.
Practise from a walking pace on flat ground until you can stop within a couple of metres, every time, without thinking. Then practise it faster.
The plow stop
Point your toes toward each other so your skates form a "V" with the heels wide, bend your knees, and press the inside edges of both skates outward against the pavement. The friction slows you down. It works with or without a heel brake and is the stop most instructors teach second.
The T-stop: for later
Glide on your front skate and drag the back skate behind it at a right angle, wheels sideways, forming a "T". It needs solid one-foot balance and wears wheels quickly, so treat it as a second-month skill, not a first-week one.
The bailout
If none of those are working and you're heading somewhere you shouldn't, steer onto grass. Wheels stop almost instantly on turf. Crouch low as you cross onto it, and you'll either stop or fall the short, soft way.
Step 7: How to Fall Safely (Practise It on Purpose)
You will fall. Practising it is the difference between a bruise and a broken wrist.
- Fall forward, never back. Backward falls hit the tailbone and the back of the head. Forward falls land on the pads you're wearing.
- Go low first. The moment you feel a fall coming, bend your knees and drop toward the ground. A fall from crouching height is a fraction of a fall from standing.
- Knees, then wrist guards, then slide. Land on knee pads, let the wrist guards take the next contact with your fingers pointing up, and let yourself slide rather than trying to catch everything.
- Never catch yourself with flat palms. That's the injury the wrist guards exist to prevent.
Do three deliberate slow falls onto grass in your first session, from a kneeling position, then from standing. Adults who practise falling stop fearing it, and fear is what stiffens your knees and causes the real falls.
Rollerblading Drills: Your First Four Sessions
Thirty to forty-five minutes per session is plenty. Stop while you still feel good.
- Session one: stand, march, scissor. Stand up on grass, march on pavement, roll in a scissor stance, practise falling. Try the heel brake from a walking pace.
- Session two: stride and stop. V-push for distance, then heel brake every twenty metres. Aim for stops you don't have to think about.
- Session three: glide and turn. One-foot glides to a count of five, A-frame turns in both directions, and a plow stop from moderate speed.
- Session four: distance. Skate a kilometre on a quiet path, stopping on purpose every hundred metres. Add a very gentle slope only if you can stop reliably on the flat.
Next goal after that: learning to skate backwards.
Common Rollerblading Mistakes and How to Fix Them
- Leaning back. The number one adult mistake. Fix: bend your knees until your shins press the boot, hands in front.
- Straight legs. Locked knees turn every crack into a fall. Fix: think "sit slightly" the whole time you're rolling.
- Looking at your feet. Your body goes where your eyes go. Fix: pick a point twenty metres ahead.
- Loose skates. Heel lift and a wobbly ankle make balance impossible. Fix: retighten at the ankle, and if the boot is simply too big, fix the size before you fix the technique.
- Speed before stopping. Fix: no hills, no long straights, until the heel brake is automatic.
- Skates without a brake. Urban and aggressive skates ship without one. For learning, use a skate with a heel brake, or keep a brake-equipped pair until the plow stop is solid.
Where to Practise Rollerblading in Canada
- Toronto: the Martin Goodman Trail is long, flat and smooth; our Toronto skating guide lists the calmer sections.
- Vancouver: the Seawall is the classic beginner route; see our Vancouver inline skating guide for surface and etiquette notes.
- Everywhere: school parking lots are empty on Sunday mornings, and the indoor options in our roller rinks across Canada guide keep you rolling all winter.
On shared paths, skate with the flow of traffic and give pedestrians the room you'd want on a bike.
How to Rollerblade FAQ
How long does it take to learn to rollerblade?
Most adults roll and stop in their first session and skate a few kilometres comfortably after three or four sessions. Confident turning and one-foot balance take a few weeks of regular practice. Skates that fit and a smooth surface shorten all of that.
Is it easier to rollerblade or roller skate?
Inline skates are more stable front to back and faster on trails; quad roller skates are more stable side to side and easier standing still. Many adults find the first rolling session easier on inlines and the first standing session easier on quads. If you're choosing, our inline skates vs roller skates comparison goes deeper, and if you go with quads, read how to roller skate instead of this guide.
Can I learn to rollerblade at 40, 50 or older?
Yes. We fit first-time skaters in their sixties every season. Adults learn faster than they expect because they follow a plan; the only adjustment is to practise falling on grass first and to wear full protection every single time.
Do I need a heel brake?
For learning, yes. The heel brake is the most reliable stop a beginner has, and it's far easier than the T-stop. Once your plow stop is solid you can remove it, but there's no prize for taking it off early.
Is rollerblading hard on the knees?
It's a low-impact activity: the motion is a glide rather than the repeated impact of running. Bent knees and a proper stride are what keep it that way. Skating with straight legs on rough pavement is what makes knees complain.
Ready to Rollerblade?
Four skills, in order: stand, march, stride, stop. Everything else in inline skating grows out of those, and all four fit into a single session on a smooth parking lot with the right protection on.
When you're ready to gear up, browse our inline skates and protective gear, all shipped from inside Canada with fit advice from people who skate. Run the skate size calculator first so your boots arrive snug, and you'll be gliding before the week is out.